
Marble Installation Dubai:
Marble installation in Dubai is done by expert handymen of Dubai Repairs. Our handymen are experts in Marble installation Dubai on walls and floors. The marble installation is professionally done by the handymen of the Dubai Repairs. Dubai Repairs provides the best Marble installation in Dubai. Marble installation Dubai is not only installed on the floors but walls also so that a beautiful wall interior can be made, this wall art is very in these days. The Marble Installation Dubai comes in many shapes and sizes and is installed according to the choice of the customer.
Steps of Marble Installation Dubai:
Step 1- measuring twice:
Our handymen measure the area in square feet and also the dimension of the area where the customer wants to install marble. The measurement is done in detail and professionally so that the marbles can be installed properly.
Step 2- clean surface:
The surface of the place needed to be cleaned and dried properly so that the marble could be applied on the floors and walls. The stubborn dirt is cleaned with the wet surface cleaner so that it won’t disturb the marble installation process.
Step 3- Prepare the surface:
The surface of the area must be cleaned properly and must be clear and clean. The area must be free room any furniture, dirt, pets, or children before the installation of the marbles is started. Installation:
Step 1- measuring and finding center:
The measurement is done again and an outline is drawn on the surface of the marbles needed to be installed. This helps with the perfect installation of the marbles. The outline can be drawn out of chalk so that it can cover the surface as well. Now our handymen find the center of the area because the installation is started from the center point.
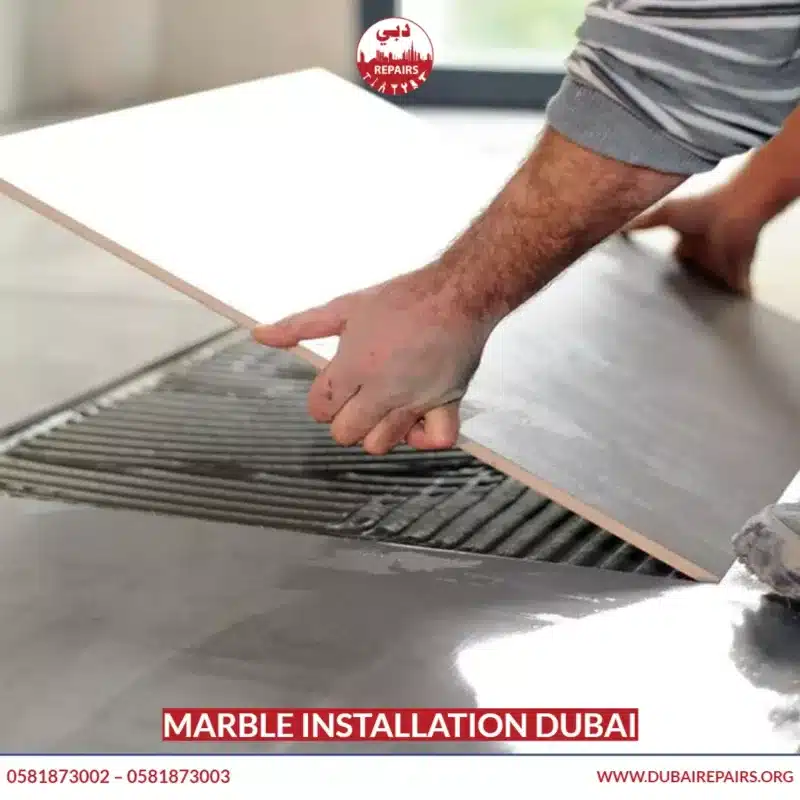
Step 2- place tiles and preview:
Now the pieces of tiles are set in places and managed according to them. This helps to prevent any faults in the installation. All the pieces are set in place and previewed.
Step 3- measure again and cut:
The marbles are now measured and cut according to the layout and measurement. The marbles are cut to perfection and the edges of the marbles are shaped according to it.
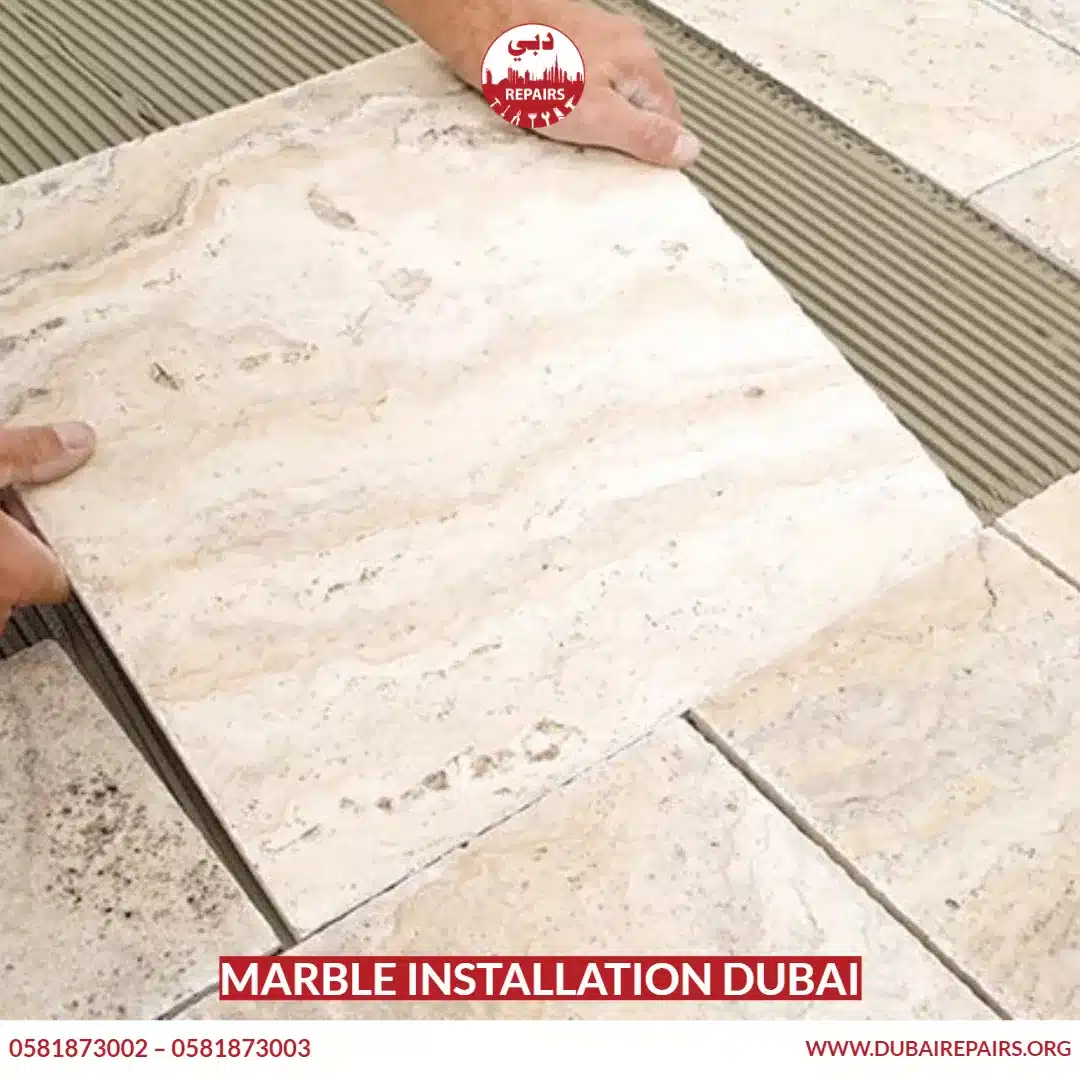
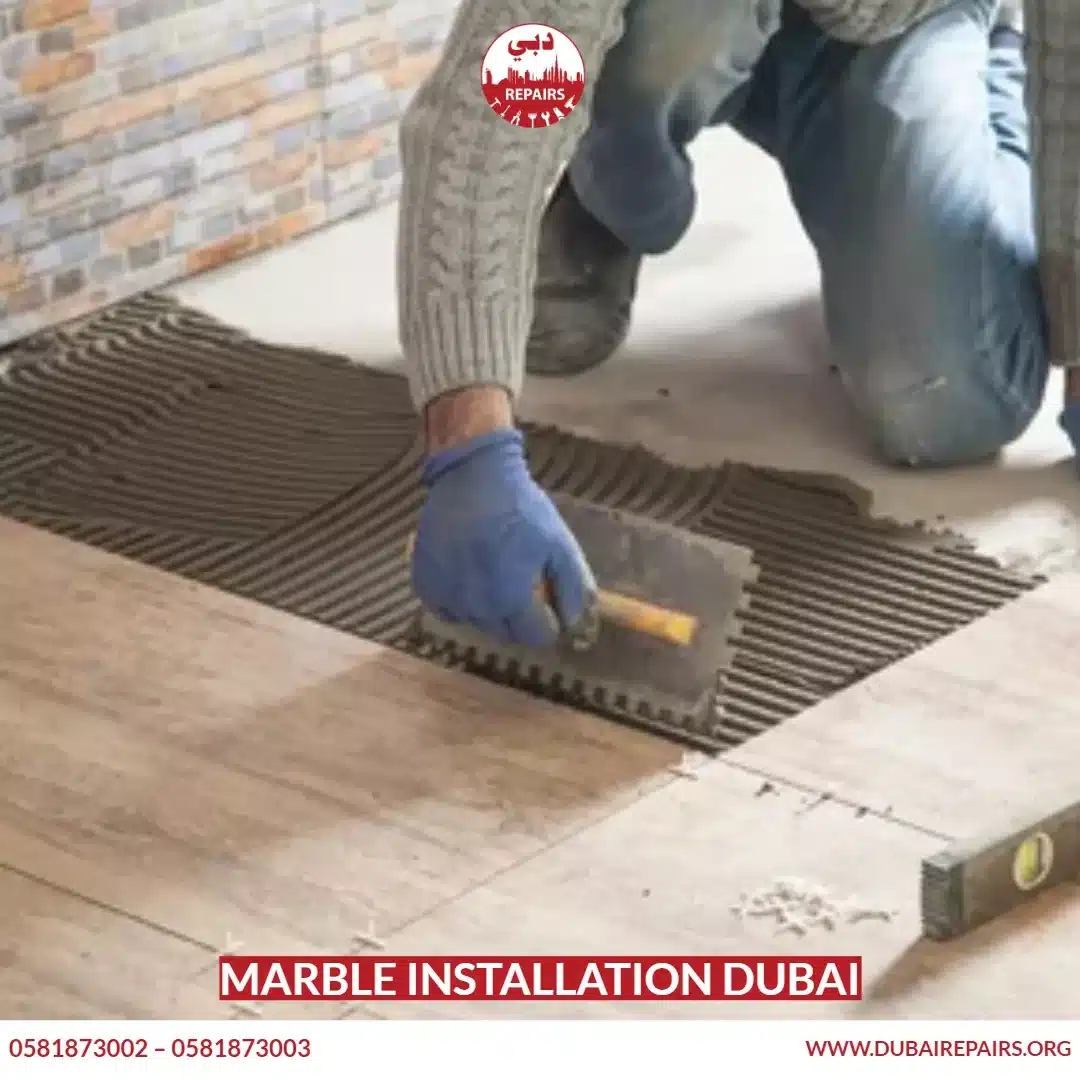
Step 4- Install the marble:
The pieces of marble are now installed properly by applying the cement under the marble. The gaps are also placed perfectly so that the beauty of marble can be maintained.
Step 5- mix and apply grout:
The cement is let to dry first before applying the grout. Once the cement is dried the grout is applied in the gaps to make it more durable and beautiful.
Step 6- let it dry:
The group is now left to dry for a day or so. This is very important to properly dry the grout and combine the marble pieces in its place.
Step 7- apply sealer:
The last step is to seal the marbles and grout. The sealer is applied properly by the marble manufacturer. The marble and the grout properly absorb the sealer and give the binding and shine to the marbles.
Contact us today:
If you are looking for professional and reliable marble installation services in Dubai, look no further than Dubai Repairs. Our expert handymen are dedicated to providing high-quality marble installation on both floors and walls, creating stunning interiors for your space.
Follow us:
Visit our other websites for more services:
MRD, Carpenter Dubai, Plumber Dubai, Painter Dubai, Glazier Dubai, FIX IT UAE, Bicycle Service